
The preview uses sample products and prices and shows your draft, not what is live.
1. Fields
The Fields tab lists every field the form can ask for. For each field you can:- drag the handle, or use the up and down arrows, to change the order,
- tick Show to show or hide it,
- click the pencil icon to edit it.
Contact fields
Full name, Last name, Phone number, Email and Send me news and offers by SMS and email (a marketing consent tick box). By default shoppers enter their name in one Full name field. Turn on Last name to ask for first and last name separately.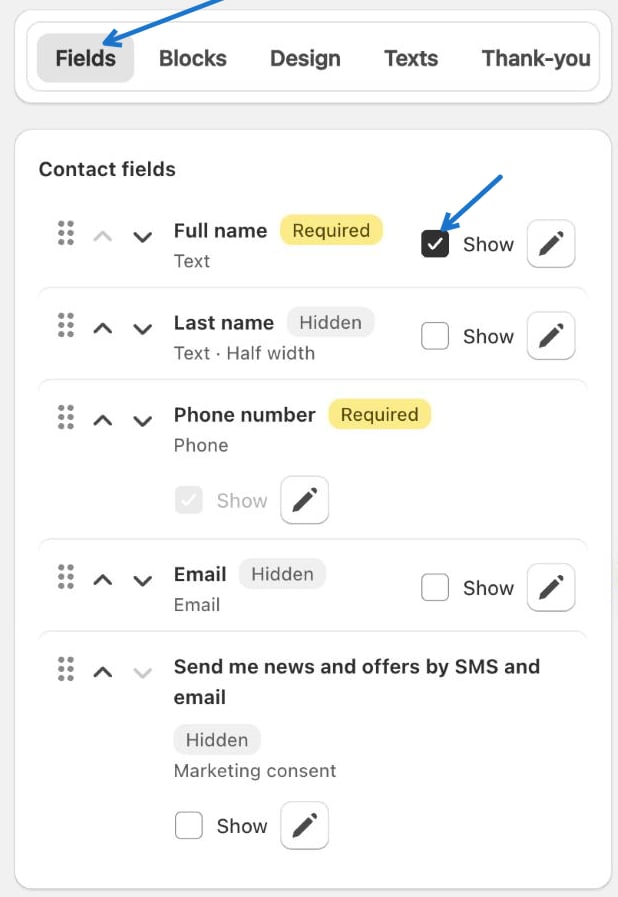
Address fields
Country, Address, Apartment, suite, etc., Postal code, State / Province, City, GST number and Order note. The country field is shown only when more than one country is enabled in Setup. City, state and postal code follow each country’s address format.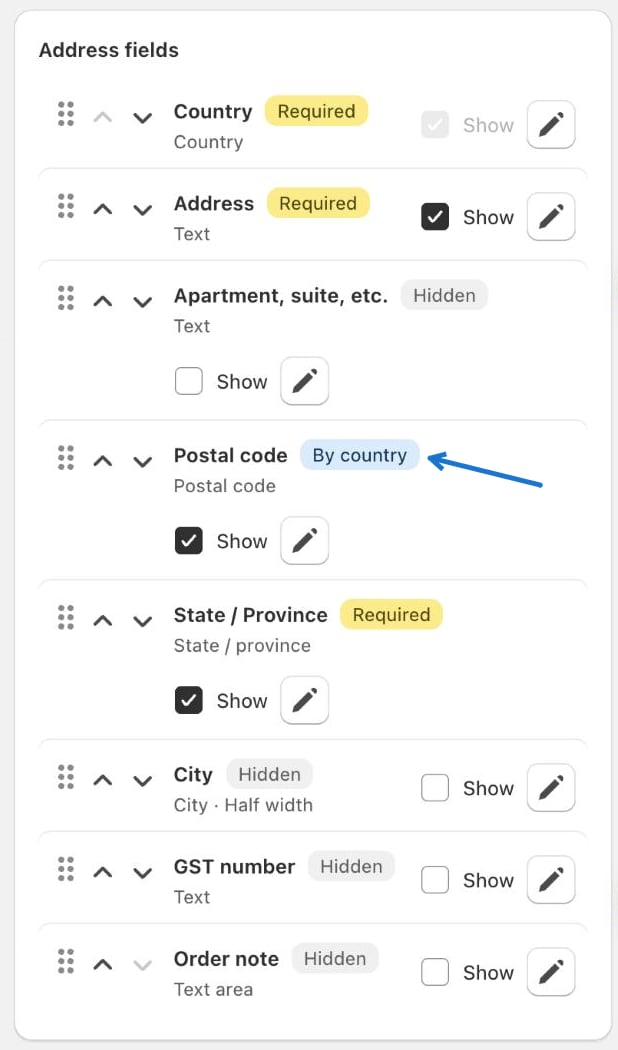
Custom fields
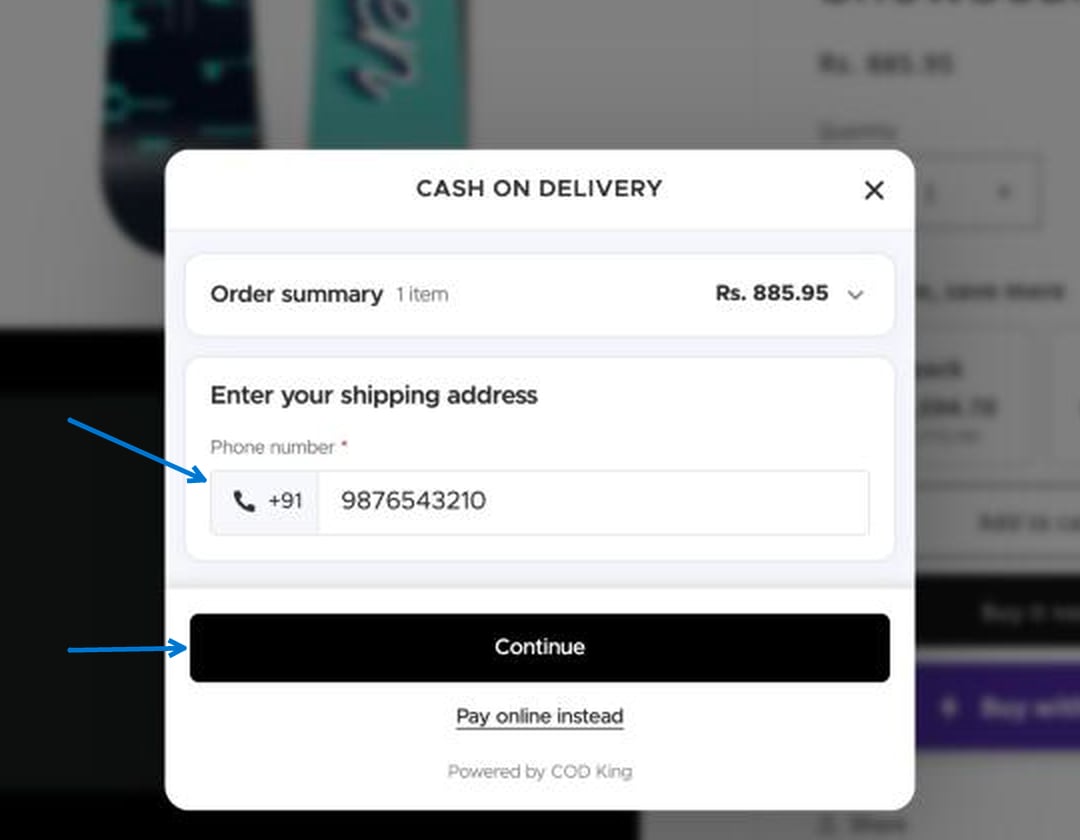
Click Add custom field to ask for anything else you need, such as a delivery time or a size. Answers are saved on the order. Tick Ask for the phone number first to change the order of the form: phone, then OTP, then a saved address is filled in. When it is off, the address form comes first. This option needs phone verification. Turn on Ask buyers to verify their phone number with a code in Setup first; each code sent uses message credits. If you only want a normal form, leave Ask for the phone number first off and the buyer lands straight on the address form.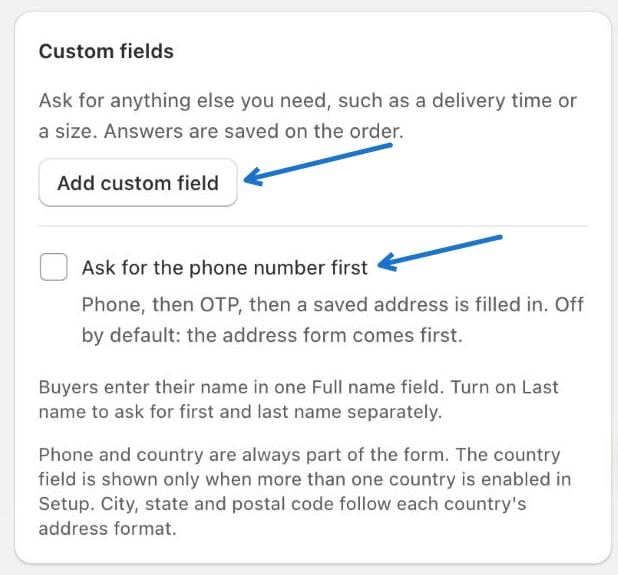
2. Blocks
The Blocks tab lists the sections of the form from top to bottom. Drag them or use the arrows to reorder, and tick Show to turn a block on or off. Add block adds another block.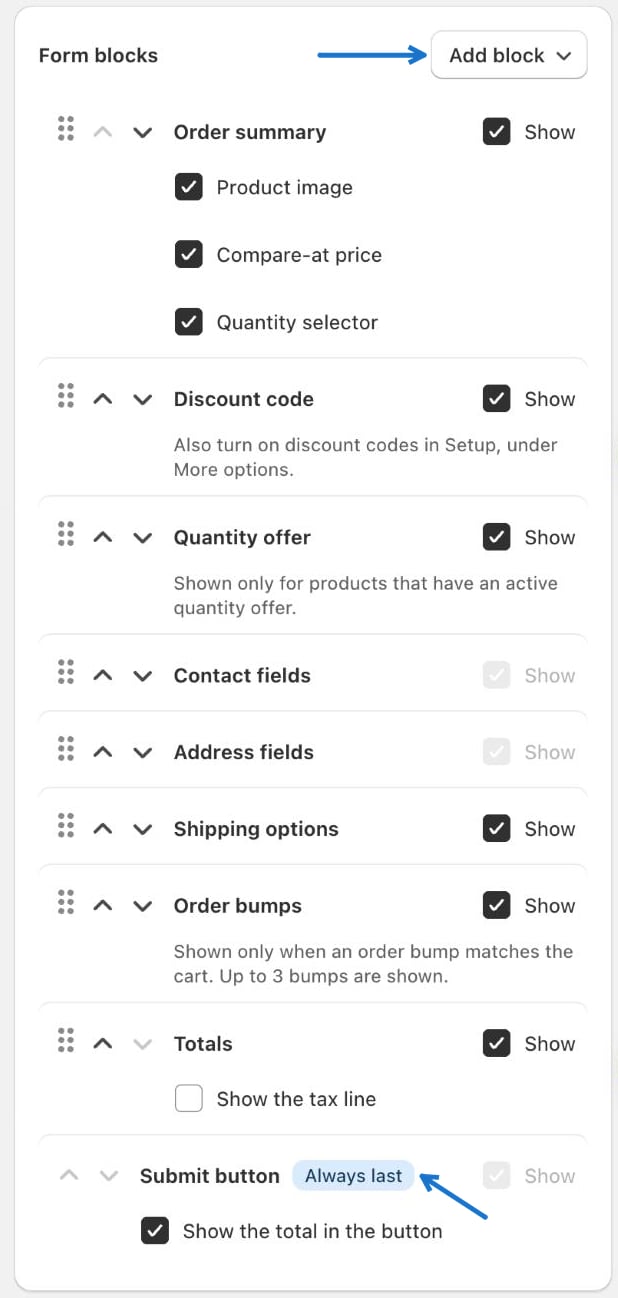
3. Design
Theme
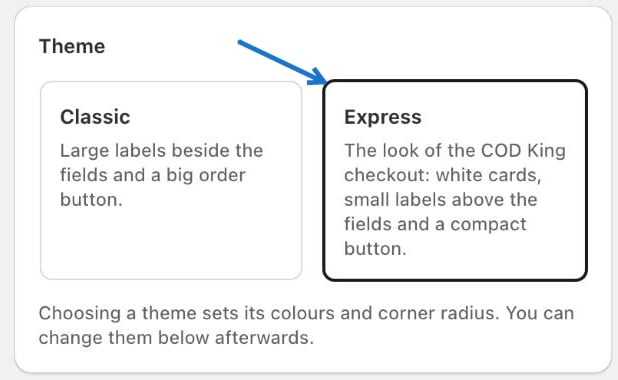
Pick a Theme:- Classic — large labels beside the fields and a big order button.
- Express — the look of the COD King checkout: white cards, small labels above the fields and a compact button.
Colours
Set the Primary (button), Text on the button, Text, Secondary text, Background, Panels, Borders and Errors colours, or click Templates to start from a ready-made set.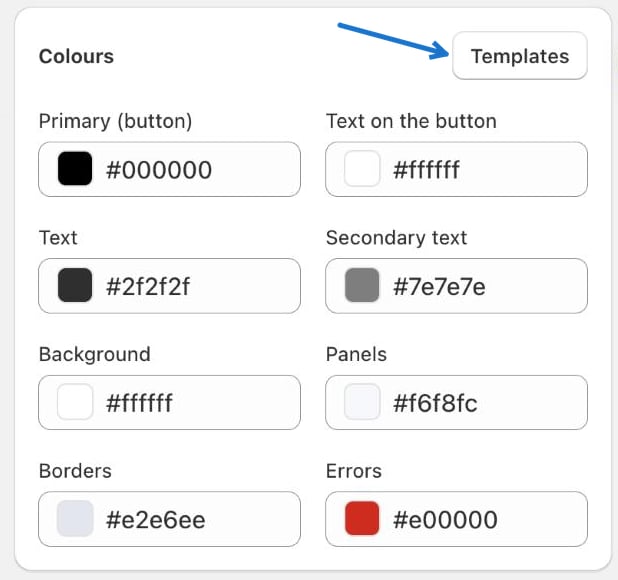
Shape and spacing
Use the Form corner radius and Field corner radius sliders, and choose the Spacing (for example Comfortable). The Express theme uses its own font.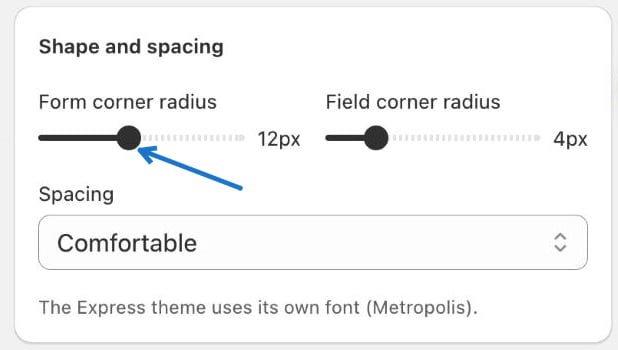
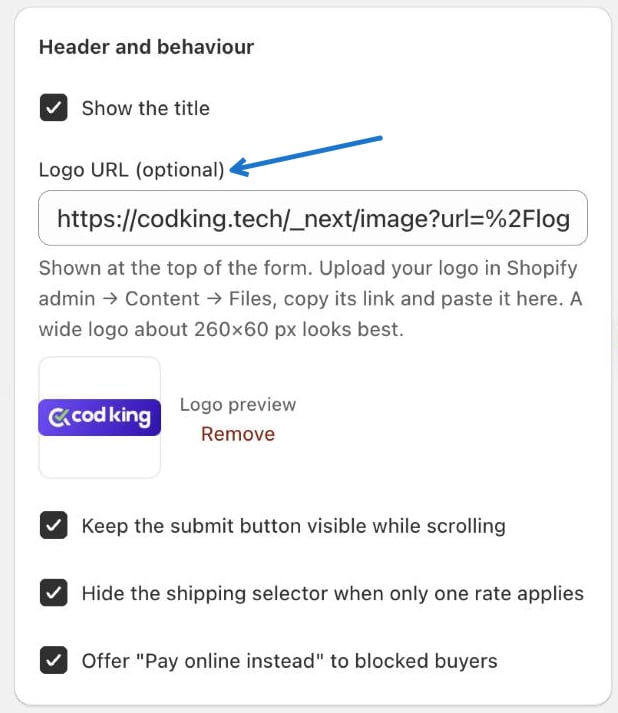
Header and behaviour
- Show the title — shows the form title at the top.
- Logo URL (optional) — shown at the top of the form. Upload your logo in Shopify admin → Content → Files, copy its link and paste it here. A wide logo about 260×60 px looks best.
- Keep the submit button visible while scrolling
- Hide the shipping selector when only one rate applies
- Offer “Pay online instead” to blocked buyers
4. Texts
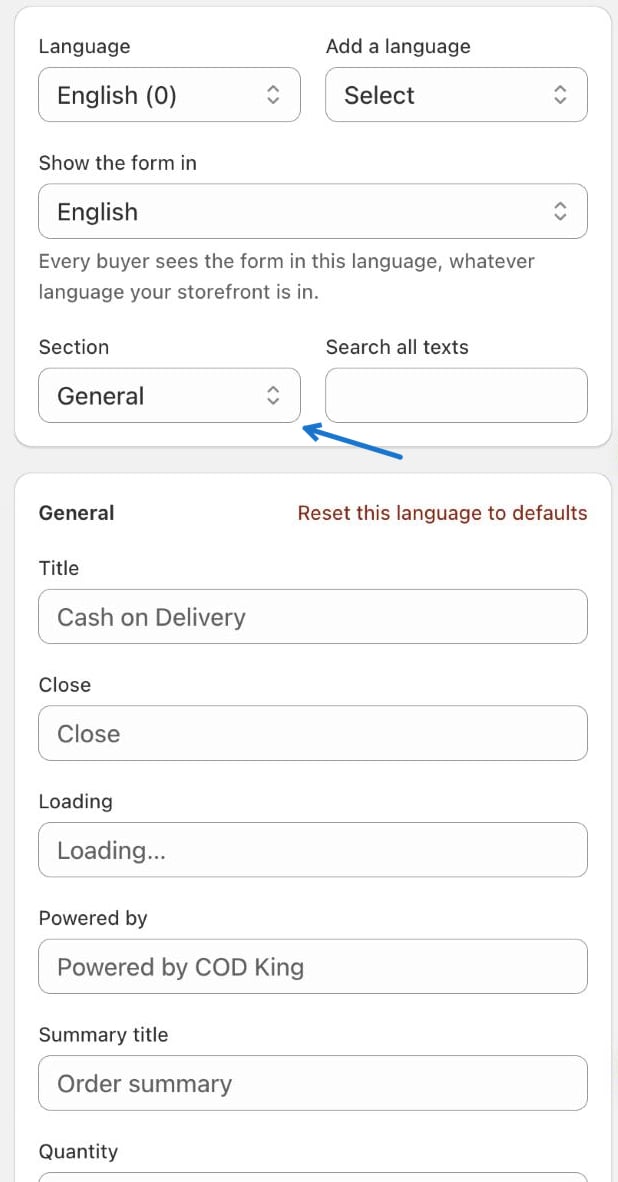
Every word in the form can be changed in the Texts tab.- Pick the Language you want to edit, or use Add a language to add a new one.
- Use Show the form in to make every shopper see the form in one language, whatever language your storefront is in.
- Choose a Section (for example General), or type in Search all texts to find a text quickly.
- Edit the text in any field. The grey text is the default; leave a field as it is to keep the default.
5. Thank-you
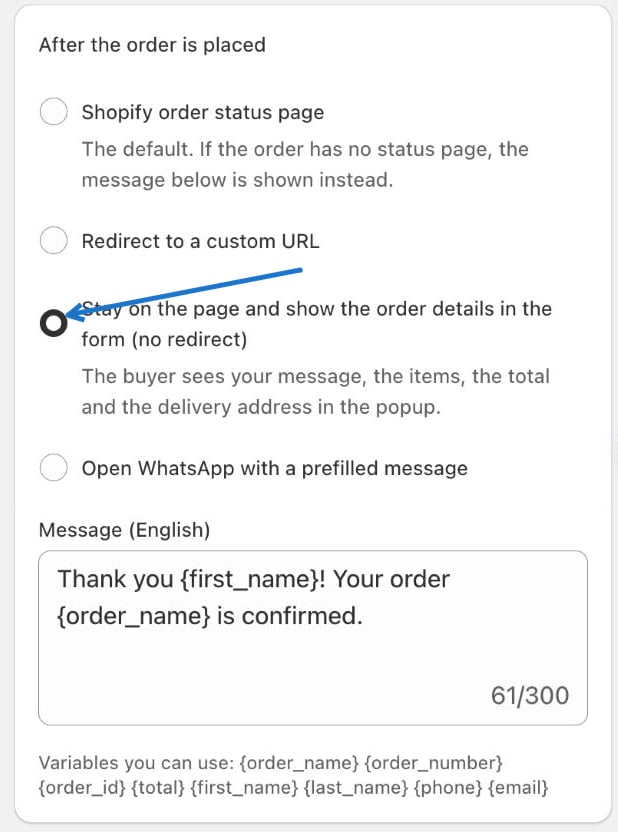
Under After the order is placed, choose what the shopper sees next:- Shopify order status page — the default. If the order has no status page, the message below is shown instead.
- Redirect to a custom URL
- Stay on the page and show the order details in the form (no redirect) — the shopper sees your message, the items, the total and the delivery address in the pop-up.
- Open WhatsApp with a prefilled message
{order_name}, {order_number}, {order_id}, {total}, {first_name}, {last_name}, {phone} and {email}.
6. Form
The Form tab names your form. The Form name is only for you; shoppers do not see it. Products that use this form lists where it applies — the default form is used for every product that has no other form. The preview below shows the form as a shopper sees it: logo and title, order summary, discount code, address fields and the order button, with Pay online instead underneath.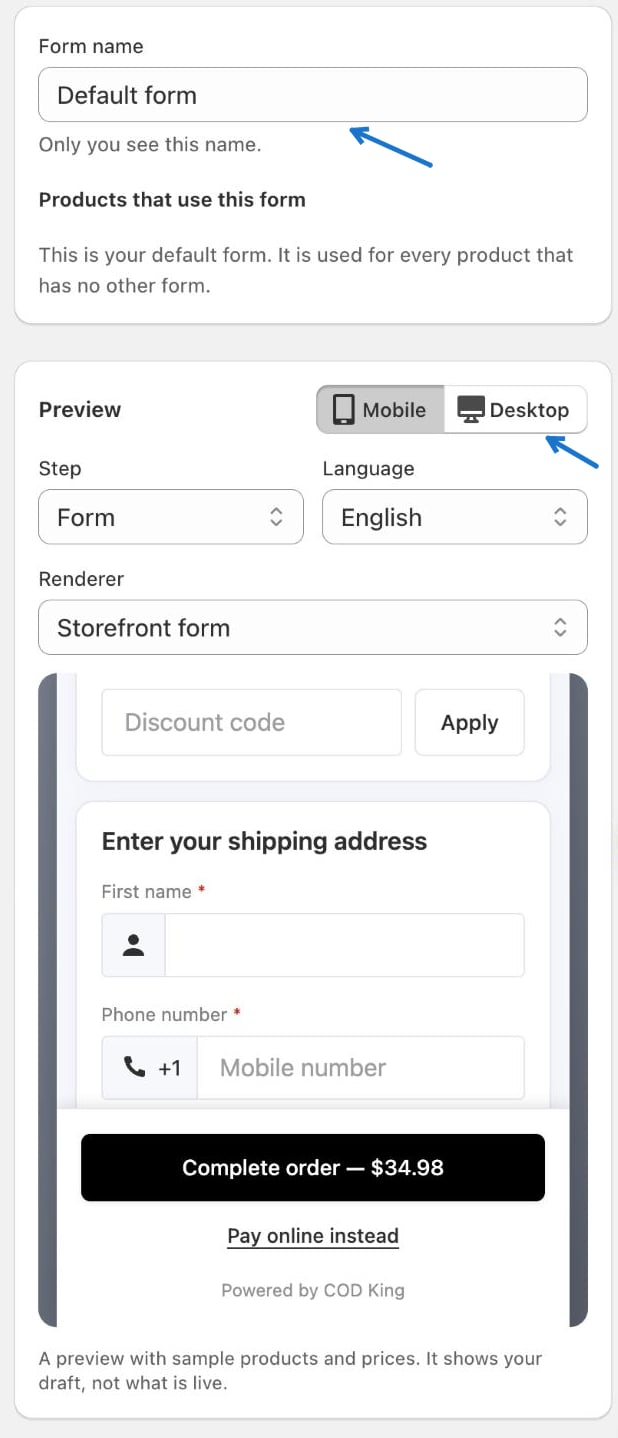
Next: Fraud protection
Limit repeat orders and block unwanted buyers.
Offers
Add quantity offers, bundles and upsells to the form.